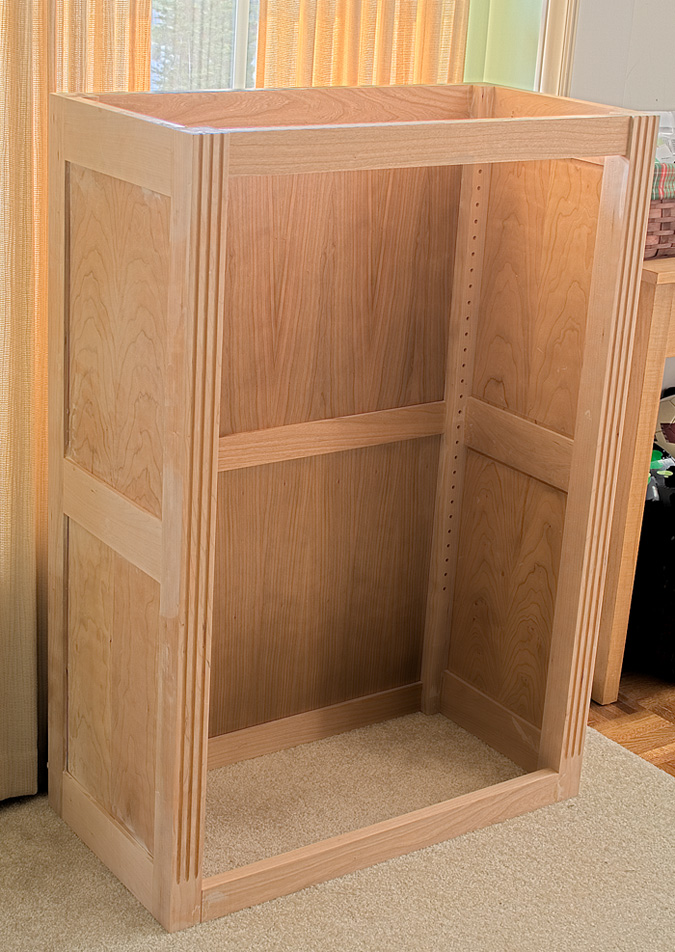
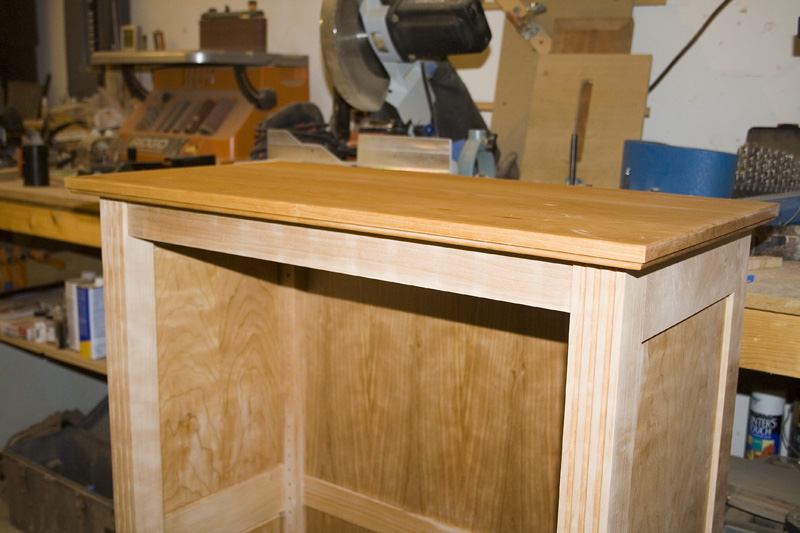
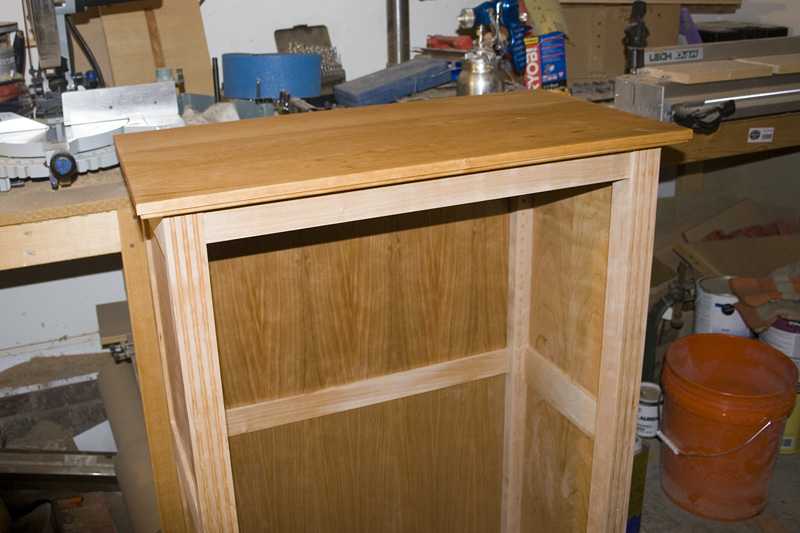
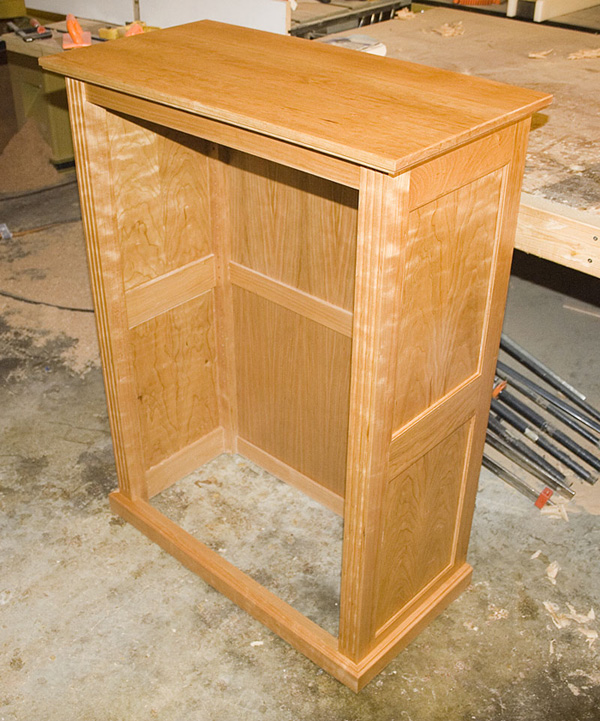
Cherry Bookcase
  • The design of the bookcase can be seen below from all angles (rotate image w/ your mouse).
  • It will be made from cherry and have flutes that run down the front and side faces of the corner posts.

Please give time for the images below to load. (Use your mouse to rotate drawing)

Click on image and move mouse left or right)
(Works best in Internet Explorer, not sure why...)
 
  • 1/01/2010 Today I started on the woodworking for this project. I cut out the corner posts to rough dimension. I will let them rest over night and tomorrow I will square and plane them to final thickness.
   
  • 1/03/2010 Squared the posts and routed the stopped tapered flutes for the front two posts (design change: only the fronts of the front two posts will be fluted).
  • At this point the posts are not cut to length. I left them long in order to make room for the ramp which was used to make the tapered flute.
   
  • Close-up of the stopped tapered flutes.
  • Check out my video on making stopped tapered flutes here. (Video entitled "An easy method for making stopped tapered flutes").
   
  • 1/09/2010 Finished with the grooves in the rails which receive the panels. Also finished with all of the mortises (floating tenons).
  • And yes, there is one extra 'long' rail. Made by mistake. Oops.
  • Today I also hope to make the panels for the left and right side.
  • The blue tape reminds me which side is on the outside.
   
  • 1/10/2010 Dry fit of a side with panels.
  • Panles were made from resawn 4/4 cherry and are book-matched.
   
  • Inside view of the dry fit showing the holes for shelf supports.
   
  • Side panels were glued together last night.
  • 1/12/09 Dry fit of the back panels (1/4" cherry ply) with the glued sides.
   
  • Entire case is assembled at this point. Because it was so cold in the woodshop last night (50F), I had to let the case cure inside while clamped.
   
  • 1/17/2010 Finished the top of the bookcase. Roman ogee underneath and a round over on top.
   
  • Top alternate view.
   
  • 1/20/2010 Attached the bottom molding. I need more clamps!
   
  • 1/22/2010 Three coats of polyurethane have been applied (hvlp).
  • Still need to work on the shelves.
   
 
  • 2/13/2010 After a little time off I finished edge banding the plywood shelves with solid cherry. I still need to cut the shelves to final width and length.
   
  • 2/18/2010 Finally finished. Several coats of polyurethane (hvlp).
   
  • Molding runs around the perimeter of the bottom shelf.
   
  • Close up of the stopped tapered flutes.